Tuesday, June 21, 2011

Summer

Hooray!!! It's the first day of summer today. Yahoo! For my family, however, not only is it the first day of Summer, but it's also my grandpa's birthday. This year I did not make anything, but thankfully I'm still trying to get you all caught up on all my previous baking, so i shall talk about the cake i made last year.

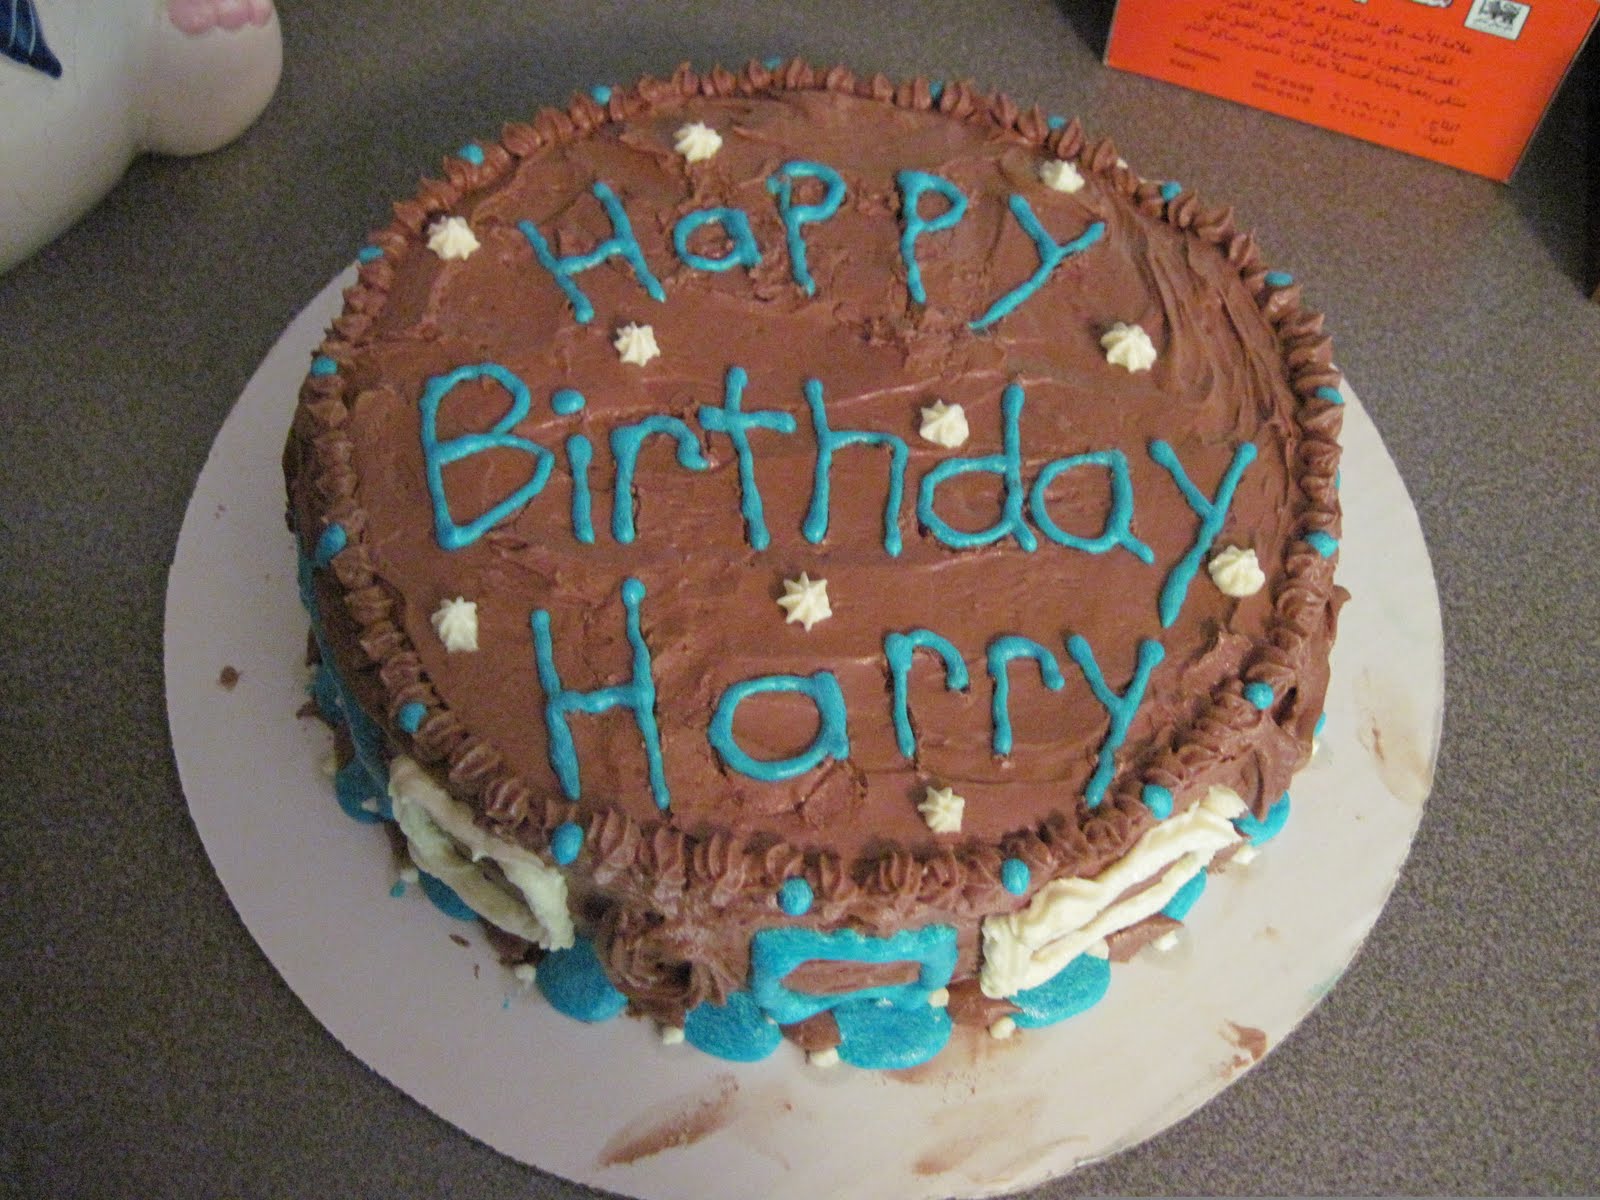
So this is the cake that I made for my grandpa for his birthday. That time instead of doing two cakes in one day like i did the first time i baked, I this time made two cakes in one week because it was the same week as Fathers Day. As you can see, in this cake, I used a chocolate butter cream icing. for some of the decorations, all the blue icing, I simply took the chocolate butter cream and didn't add the cocoa to it. Trust me that was a VERY bad idea. The icing was runny and drippy and dripped all over the place. When i piped it onto the cake it ran all the way down the sides, as you can see at the lower left. Also when i added the blue coloring to the de-cocoa-afied icing, it wouldn't mix in all the way! Even after i mixed it to the best of my ability, you could still see swirls of white, as you can see in the lower middle. However, thankfully, some of the icing came out perfectly fine, as shown in the lower right.


Now for some advise for all of you. For one thing, if you're going to do a cake like this, where you take it out of the pan and decorate it, do a border. Always do a border on cakes like this. Without a border you will see more of the mistakes and creases in the icing where you switch between icing horizontally and vertically. It also shows where you ran into the cake tray if you don't put a border. Another advantage to doing a border is that it breaks up the cake for the eye and it's not quite so hard for people to take in. Of course there are exceptions, but I'll not get into those now, least I confuse you if I haven't already.


More advise? Make it interesting. however it is possible to make it too interesting. Make sure you reach the balance in between. A cool decorating trick for candles, at least I think it's cool, is when your decorating the cake to put on the top of the cake, or where ever you want the candles to go, little dots or flowers or something. This way when you put the candles in the have a nice little border and it doesn't look as much like you are massacring the cake. Well I hope I've helped you out a little bit. Thanks for reading! Check in again sometime soon!


Sunday, June 19, 2011

Fathers Day

Happy Fathers Day to all dads out there! So this year i did not make a Fathers Day cake, so i decided to talk about the one i made last year. Ironically this is the third cake I've ever made. So I'm still going in order! YA! Anyway... This cake, contrary to what you might think, was actually made for my grandpa, not my dad, who prefers pies. When I made this cake I could not decide on a design. So then I went to the ever handy dandy Internet! I have an entire folder on my computer of baking designs. One day I will put some of them on here. You can see on here that i put small white dots between the red dots. I would suggest putting some space between the dots. As you can see on the left side of the cake, close together dots don't look very good. Compare the left side to the right side. The right side defiantly looks better. Also as you can see in the birds-eye view below, when your icing gets cracked and messed up like mine did, you can dip the icing knife in water and smooth it together. When writing words, or drawing pictures, sketch it out with a tooth pick first. Those are the best pieces of advice right now. HAPPY FATHERS DAY!!!!

Saturday, June 18, 2011

First

This is my first post. I've never blogged before so please excuse me for any amateurishness that appears on here. Well I have to catch you guys up on a year. A year and a month ago I began my baking career. The most i had ever baked was chocolate chip cookies. I had been watching an anime called "Yumeiro Patissiere" Yumeiro meaning dream-colored. It really inspired me and i learned a lot, surprisingly, from the show. Anyway, it was the end of the school year and my teacher, who had been out on maternity leave, was coming back for the last week of school. I decided i would make her a "Welcome Back" cake. I couldn't decide whether to do chocolate or yellow cake though, so finally i settled on both. I started the cakes on the Sunday that would signal the last week of school. I was in the kitchen for 9 hours of non-stop baking and decorating. Add on top of that, it was 90 degrees outside, our air conditioning was off and all doors and windows open plus i had the oven going. i was so worn out when i finally went to bed. Now the cakes didn't turn out very good. The candy flowers melted in the heat, the recipe i used made the cakes really dense, but for my first try they were really good. For the one cake i did a simple, but beautiful, basket weave on the side that is really quite simple. For the second I did lines to look like ribbons coming up to the top of the cake with candy roses on top. The second cake was terrible.

How to Make a Basket Weave:
          All you have to do is pipe lines vertically on the cake with a good amount of space in between them. Then you just pipe lines horizontally over the vertical lines to the crease between the two bordering lines and you continue to do this in an alternating pattern to create the illusion that the icing was woven.


cake 1cake 2
Basket Weave