Monday, January 16, 2012

Happy Thanksgiving & Merry Christmas

So sorry about the long wait! You know the holidays. Rush, rush, rush. So i supposed I'd better start out with the items i bakes for Thanksgiving. To begin, i only made two items. Rugelach cookies and lemon meringue pie. Rugelach is a type of cookie originating somewhere in the Middle East. I have had people from Iraq tell me they are Iraqi cookies and people from Israel say they are Israeli and books tell me they are Jewish, but it is always somewhere in the Middle East so that is all i can tell you about their background. The recipe I use may not be quiet as authentic as you might find in the Middle East, but some personal friends of mine from Iraq say the recipe is very authenic.

It is a small cookie in the shape of a cresant with a chocolate filling most commonly but it can have other fillings as well. To make it you simly mix up the dough, refidgerate it for awhile, roll it out, spinkle the filling, cut into wedges and roll. If you are feeling lazy or are in a hurry, you can skip the wedges, roll, and then cut, making the cookies more of a pinwheel than a cresant. Be careful of adding too much filling or the cookie will be messy. It is absolutely delicious. The dough is sweet and soft, and so creamy (probably a result of the cream cheese) and the filling is chocolately with a hint of cinnomin making the chocolate filling irrisistable.
Also for Thanksgiving I made a Lemon Merinque Pie, which was fairly simple. I used a premade piecrust and a box mix Cook & Serve Lemon Pudding for the filling. The recipe for the pie can be found on the box.

A few weeks later and its Christmas time! Jesus gets a lot of baking on his birthday! I personally made three types of cookies; gingerbread, candy cane cookies, and peanut kisses. Only the candy cane cookie recipe will be published on this website because they are family recipes, but I will give tips. When making any cookie dough where you have to shape it, such as candy canes and gingerbread, make sure it reaches the right consistency. If it is too soft or gooey it will be hard to work with but if you add too much flour it will be dry and crumbly. If you should happen to have dough too gooey and soft, just add some more flour but be careful not to add to much. You can also try wrapping it in plastic and sticking it in the fridge to harden up. If you add too much flour try adding more water, but again be careful not to add to much. If you happen to rip or tear your dough you can wet your fingers and stick the dough back together.
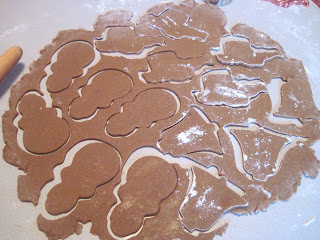
As for the peanut butter kisses, all I can say is make sure the cookie dough is fully or close to fully cooked before adding the kisses to it. If you add the chocolate too early you will have to bake it longer and will burn the chocolate. The lovely thing about chocolate is that in most cases it will hold its shape no matter how long it's cooked but it can still burn and nobody likes burnt chocolate. If you should happen to add the chocolate too early you can always put a piece of foil over top of the cookies. This will trap the heat so as to cook the cookies but not keep it in too long so that the chocolate burns.

Happy Thanksgiving, Merry Christmas, Happy Birthday Jesus, and a Happy New Year!

Monday, November 7, 2011

Recipe Page

Hey everyone. You will notice with the recipe page that in the cream cheese frosting it has random ingredients at the bottom. that is the recipe for the cream for the cream puffs. Sorry about that I'm not sure why the page messed up but I will have it fixed as soon as possible. Thank you for your patience.

La Dia de Muertos

Happy Halloween and Day of the Dead everyone! Surprisingly i have alot of stuff to tell you guys about in this 2 day time span! For Halloween i went to a Halloween "party" and the hostess is pregnant so i combined a Halloween cake and a baby cake in one! It took alot of icing but it was pretty easy. The recipes are already on here and i don't have much to tell you about the cake so I'll just post pictures and get on with the Day of the Dead.
So basically I put a spider web on it and then a mom pumpkin a dad pumpkin and a baby pumpkin. Pretty simple right? Here are some pictures of the cake as I was making it.

Anyway, enough with that cake! It's time to talk about La Dia de Muertos, The Day of the Dead! Now for a little bit of background and fun facts, the day of the dead that I will be talking about is the Mexican one. The day of the dead was a way for Catholic, in some European countries, to help allow cultures keep their traditions of dressing up and warding off spirits but in a more Christian way of honoring the dead. In Mexico, families will decorate their dead loved one's graves with flowers and other decorations. Families also set up shrines dedicated to the dead and decorated with more flowers and some special decorative paper that i forget the name of. Food and water are set out to strengthen the wandering souls. Incense is set out so that the scents will guide the wandering souls. Pictures of the Virgin Mary, or the Virgin Guadalupe are also set out. Fun Fact:  Grave sites in Mexico are rented, not bought. If the rent is not paid the body will be removed and the site re-rented.

Food commonly eaten during the Day of the Dead is, The Bread of the Dead a.k.a. El Pan de Muertos, Gravel Salad, Antejitos, Tacos, churros, Tres Leches (three milks),and Meatball Soup. I ate all of these on the Day of the Dead, which actually lasts two days by the way, at a party and they were quite delicious although the Tres Leches was too sweet.

I apologize for any incorrect information, all of this i learned in an informational video at the party.

Sunday, October 30, 2011

Party Snacks

My neighbor was having a party the other day and we had some left over whipping cream in the fridge. My neighbors know i like to bake and I like to take advantage of such parties to bake. So i decided, since we had just enough cream, why not make the nice and easy recipe of cream puffs. While it takes a while to do all the cooking, baking, scooping, and filling, it really doesn't take much effort at all. I might suggest making sure you have all the ingredients before you start. I didn't and i had to borrow some eggs from my neighbors... Anyway it's a crowd pleasing dessert. Because I started making it later, I arrived late to the party but I wasn't even in the house yet when people started pulling them off the tray. By the time I got to the kitchen, there were only four left. Three of those were quickly devoured and the last one only lasted as long as it did because someone set a cake in front of it and people didn't see it.

Sorry the picture is so bad, i forgot to take a picture before i wrapped them up. I promise to post a picture the next time i remember to take a picture.
Because this was a short blog i decided I'd tell you about other crowd-pleasing party snacks! Over the Summer my church got together to watch "I Am Number Four" (which is a pretty good movie by the way but the book is better, I highly recommend both). I took a tray of snacks for everyone to enjoy. The tray was compiled with homemade rice crispy treats, very easy to make, and some chocolate biscotti. The rice crispies have always been highly liked. Last Thanksgiving, my cousin spent the a lot of time hanging out around the treats. My pastor was in love with them. So if your planning a party and you need a quick, easy, and highly lovable, this is for you. The biscotti, not as many people liked. That's really all I can say about it. It would be a good treat with tea, but for a party, not so much. Eat it as something that is just a treat for home, not a crowd.

All these recipes can be found on the recipe page, and on the technique page you can find the best way to melt chocolate quickly and without hassle.
(Rice Crispy Treats)

(Chocolate with White Chocolate Chips Biscotti)

Saturday, October 1, 2011

Welcome!

Well hello there my fellow humans! I am truly sorry that i have not posted in a while. Well this post is about the two welcomes i have made since last posting. 1. I welcomed, along with the rest of my family, Miss Julie from a land far far away, to our home and i welcomed her with a new recipe i had learned, which can be found on the recipe page. 2. Using the same new recipe I welcomed, to my city, nearly two months later, my new pastor.
For both cakes i uses a whipped ganache filling, which is basically a chocolate whipped cream, and very delicious. It makes it all nice and moist and delectable. I used a box mix cake and put the whipped ganache in between the layers and had multiple people tell me, "This cake is really good! And I don't even like cake!" It's a crowd pleaser, that's for sure! Time to talk about the individual cakes:
Well the first one, the one I made for Julie, it was chocolate through and through. Chocolate cake, chocolate whipped ganache, chocolate buttercream icing (all made available on the recipe page.)
 (Chocolate cake with chocolate whipped ganache filling.)
So this cake was rather simple. I baked, I put the filling in the middle, I iced it, then decorated it in a very simple manner. When putting the ganache in the middle, I had the problem with the weight of the cake squeezing the ganache out. I will go into detail on how i fixed this problem in just a minute. So for Julie's cake I did a simple shell border around the bottom in pink icing and then wrote Julie's name in more pink icing (pink was her favorite color.) After that the cake still looked a little plain so i took out of my freezer, some modeling chocolate roses i has used on my birthday cake. Since they don't taste very good anyway, its a good idea to freeze your modeling chocolate creations for re-use, however my recipe was no good so i will not post it. Using some of the leftover icing i glued the roses to the cake and voila! I had a quick and simple cake that was gorgeous and delicious!
(Julie's welcome cake. Quick,simple, and delicious!)

So now for my new Pastor's cake. Pastor Angela had been preaching at our church for several weeks before i was able to give her the cake due to the fact that i was out of town on a mission trip. This cake, as far as the baking went, was very similar to the previous one. It was a box mix cake and it had a whipped ganache filling and buttercream icing. You have all heard of how i said the cake weight was pushing the ganache out, well with this one i solved it. After making the ganache and was ready to use it, i put it in the fridge until it was firmer, then quickly filled the cake. You can put the filling in either by piping it or by spreading it with a spoon or icing knife, i use and icing knife. After filling it i put it back in the fridge to firm up, after that i pulled it back out and iced it and then put it into the fridge once more. This repeated cooling system keeps everything from loosing its shape and pushing out. After I was done with the repeated refrigerating, i pulled it out one more time to decorate. Unsure of her favorite color i chose more feminine colors, pink and yellow.
(Pastor Angela's cake from top.)
Unsure how to decorate it, I started out basic. I Put columns down the side every few inches, then repeated the shell border at the bottom in yellow. Around the top I put also in yellow i put dots around the top edge. Feeling it was too much yellow, I put tiny pink dots on top of the yellow ones and around the shell base. Noticing it was still incomplete, I tried a technique i learned from watching "Cake Boss." I piped the icing out of a small round tip and let gravity pull it down until i came to the point where it looked some what like drapes. To cover the ugly spots where the drapes came together I put little pink flower. And then of course i piped "Welcome Pastor Angela" on top, and enunciated it by putting yellow lines around it, evening the colors once more.
(Pastor Angela's cake from the side-ish.)

Tuesday, June 21, 2011

Summer

Hooray!!! It's the first day of summer today. Yahoo! For my family, however, not only is it the first day of Summer, but it's also my grandpa's birthday. This year I did not make anything, but thankfully I'm still trying to get you all caught up on all my previous baking, so i shall talk about the cake i made last year.

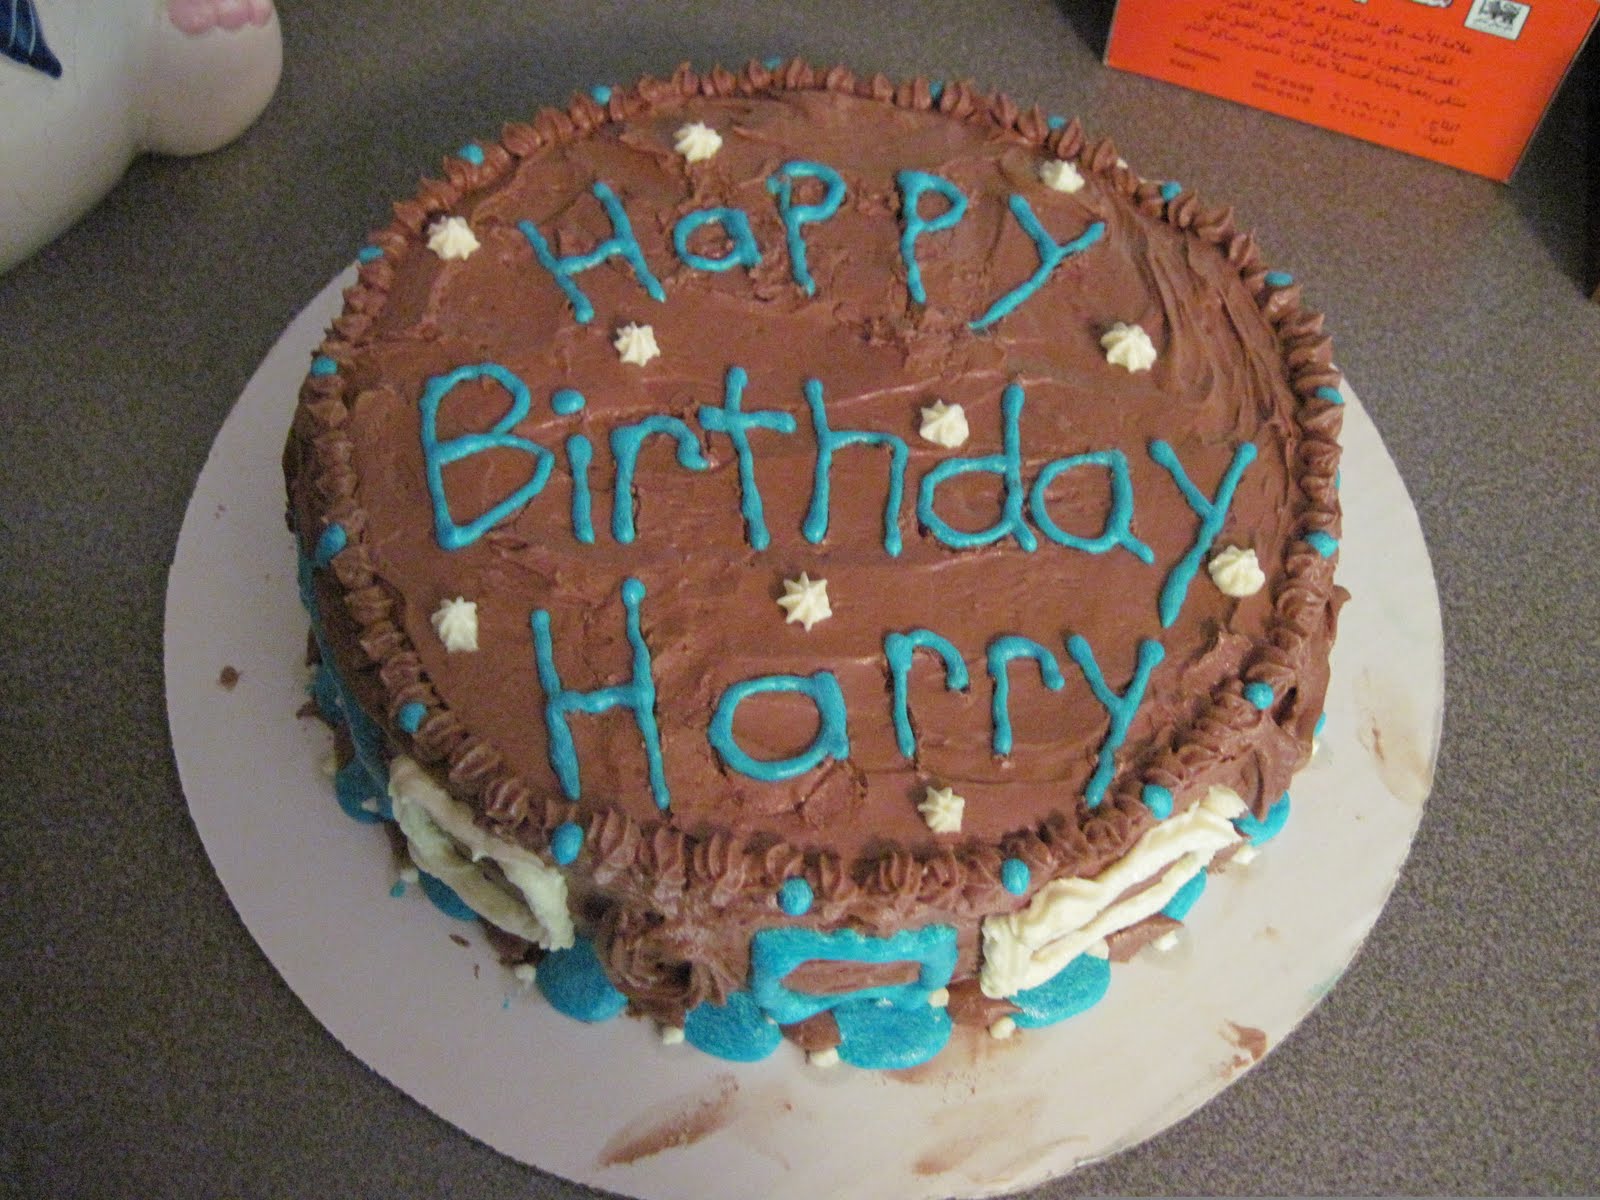
So this is the cake that I made for my grandpa for his birthday. That time instead of doing two cakes in one day like i did the first time i baked, I this time made two cakes in one week because it was the same week as Fathers Day. As you can see, in this cake, I used a chocolate butter cream icing. for some of the decorations, all the blue icing, I simply took the chocolate butter cream and didn't add the cocoa to it. Trust me that was a VERY bad idea. The icing was runny and drippy and dripped all over the place. When i piped it onto the cake it ran all the way down the sides, as you can see at the lower left. Also when i added the blue coloring to the de-cocoa-afied icing, it wouldn't mix in all the way! Even after i mixed it to the best of my ability, you could still see swirls of white, as you can see in the lower middle. However, thankfully, some of the icing came out perfectly fine, as shown in the lower right.


Now for some advise for all of you. For one thing, if you're going to do a cake like this, where you take it out of the pan and decorate it, do a border. Always do a border on cakes like this. Without a border you will see more of the mistakes and creases in the icing where you switch between icing horizontally and vertically. It also shows where you ran into the cake tray if you don't put a border. Another advantage to doing a border is that it breaks up the cake for the eye and it's not quite so hard for people to take in. Of course there are exceptions, but I'll not get into those now, least I confuse you if I haven't already.


More advise? Make it interesting. however it is possible to make it too interesting. Make sure you reach the balance in between. A cool decorating trick for candles, at least I think it's cool, is when your decorating the cake to put on the top of the cake, or where ever you want the candles to go, little dots or flowers or something. This way when you put the candles in the have a nice little border and it doesn't look as much like you are massacring the cake. Well I hope I've helped you out a little bit. Thanks for reading! Check in again sometime soon!


Sunday, June 19, 2011

Fathers Day

Happy Fathers Day to all dads out there! So this year i did not make a Fathers Day cake, so i decided to talk about the one i made last year. Ironically this is the third cake I've ever made. So I'm still going in order! YA! Anyway... This cake, contrary to what you might think, was actually made for my grandpa, not my dad, who prefers pies. When I made this cake I could not decide on a design. So then I went to the ever handy dandy Internet! I have an entire folder on my computer of baking designs. One day I will put some of them on here. You can see on here that i put small white dots between the red dots. I would suggest putting some space between the dots. As you can see on the left side of the cake, close together dots don't look very good. Compare the left side to the right side. The right side defiantly looks better. Also as you can see in the birds-eye view below, when your icing gets cracked and messed up like mine did, you can dip the icing knife in water and smooth it together. When writing words, or drawing pictures, sketch it out with a tooth pick first. Those are the best pieces of advice right now. HAPPY FATHERS DAY!!!!